

Buying guide
How to Measure Amps With a Multimeter
Jacks, Fuses and Series Connections
Measure current safely in a battery circuit: choose the jack, fuse and range, connect in series, understand burden voltage, and fix OL or zero readings.
By thisMETER EditorialUpdated November 3, 20268 min read3 picks
On this page · Quick picks: choose by the current you need to measure
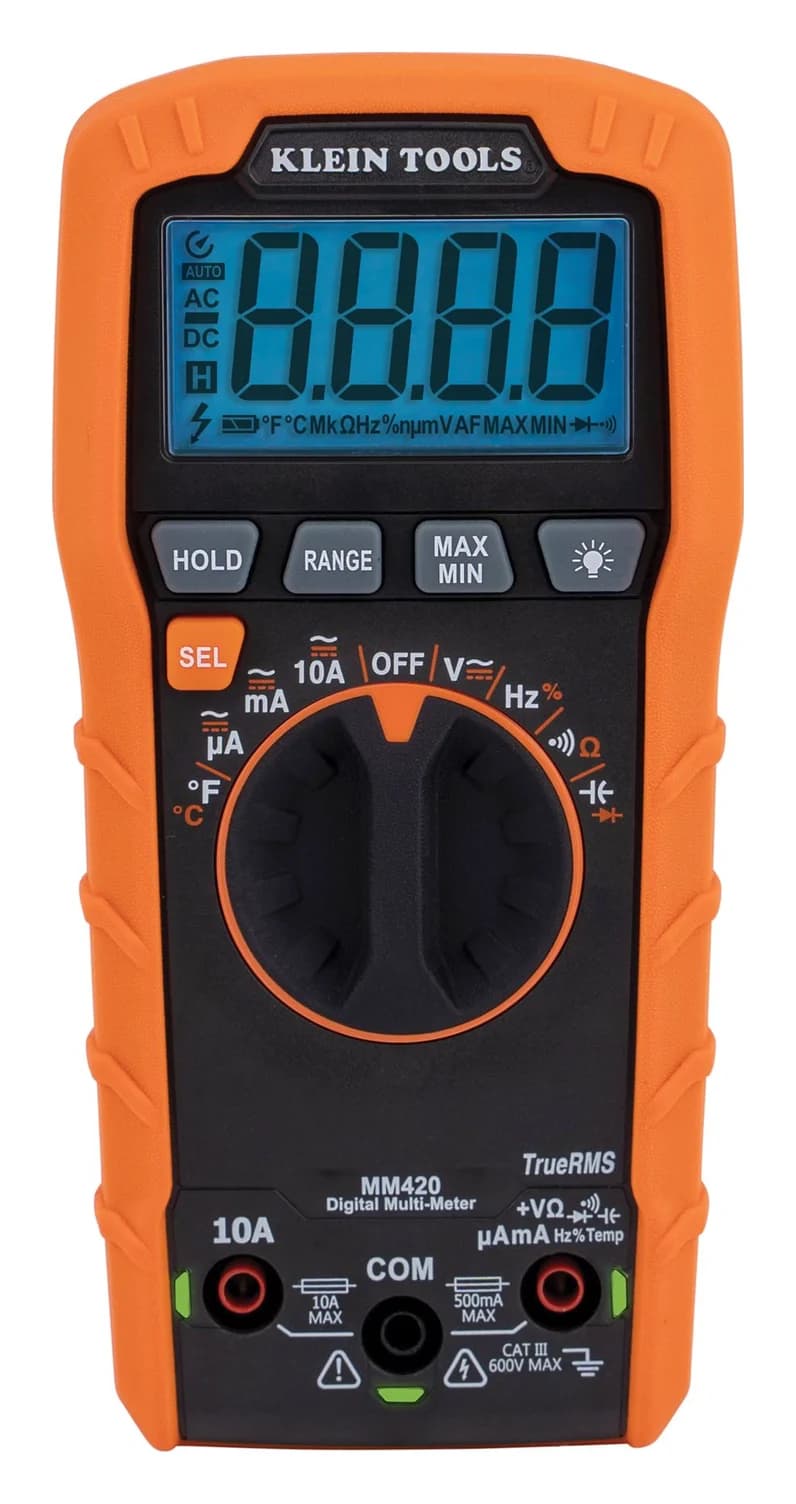
To measure amps with a multimeter, switch off the circuit, select the correct fused current input and AC/DC mode, then insert the meter in series before restoring power. For learning on a small battery-powered circuit, our pick is the Klein Tools MM420: its Lead-Alert LEDs help with jack placement, and it has mA and µA settings.
Quick picks: choose by the current you need to measure
Compare specifications and all conditions
Learning and small battery circuits
- Pick
- Klein MM420
- Why it fits
- Lead-Alert LEDs; mA and µA functions
Work where meter loading matters
- Pick
- Fluke 87V MAX
- Why it fits
- Published burden-voltage figures for each current function
Higher current through an accessible conductor
- Pick
- Klein CL710
- Why it fits
- AC/DC clamp measurement up to 600 A; no series connection
Full comparison table
Swipe to compare. Row labels stay visible.
| Job | Pick | Why it fits |
|---|---|---|
| Learning and small battery circuits | Klein MM420 | Lead-Alert LEDs; mA and µA functions |
| Work where meter loading matters | Fluke 87V MAX | Published burden-voltage figures for each current function |
| Higher current through an accessible conductor | Klein CL710 | AC/DC clamp measurement up to 600 A; no series connection |
Scroll horizontally to see every column
| Job | Pick | Why it fits |
|---|---|---|
| Learning and small battery circuits | Klein MM420 | Lead-Alert LEDs; mA and µA functions |
| Work where meter loading matters | Fluke 87V MAX | Published burden-voltage figures for each current function |
| Higher current through an accessible conductor | Klein CL710 | AC/DC clamp measurement up to 600 A; no series connection |
A series DMM suits a low-voltage circuit whose maximum current you can establish within the meter's limits. If you cannot establish that bound, or need to avoid interrupting the circuit, choose an appropriately rated clamp. For batteries, its jaw must measure DC current; AC voltage capability does not establish that. See the DC clamp meter choices, including guidance for small currents.
- Yes: Series DMM: known low-voltage load within the current input's limits
- Partly: DC clamp: verify DC jaw capability and accuracy at your expected current
- No: Unknown load: do not use a DMM current input to discover its maximum
For appliance energy over time, use our electricity-use logging guide. For voltage, resistance and continuity basics, start with how to use a multimeter.
Best for learning: Klein Tools MM420
Klein Tools
A 4,000-count auto-ranging True RMS multimeter rated CAT III 600V that measures up to 600 V and 10 A, plus temperature, capacitance, frequency and duty cycle.
Check package and model options
- 600 V max
- 10 A max
- 4,000 counts
- CAT III 600V
The MM420 product page lists Lead-Alert illumination and 10 A AC/DC capability. Its manual gives a 400 mA maximum for the µA/mA input, despite that input's 500 mA fuse. The fuse rating is not permission to measure up to it.
One documentation conflict matters: the specification table lists both 400 µA and 4,000 µA ranges, but the µA operating instructions describe currents below 400 µA. Until Klein clarifies that difference, use the mA function above that threshold. Also, current mode defaults to AC: press SEL and confirm DC on the display for the battery example.
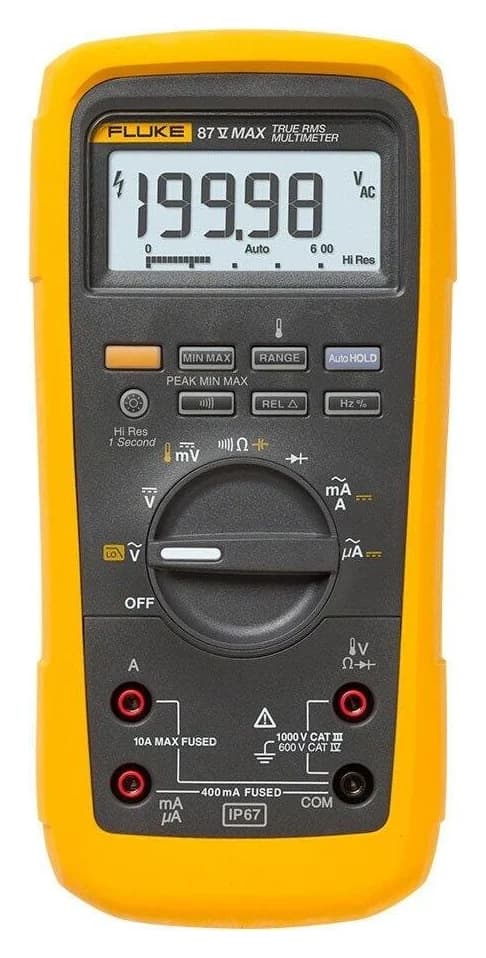
Best for documented loading: Fluke 87V MAX
Fluke
A rugged industrial True RMS multimeter rated CAT IV 600V and CAT III 1000V, with an IP67 case, a 4 m drop rating, a low-pass filter for motor-drive readings and temperature measurement.
Check package and model options
- 1,000 V max
- 10 A max
- 6,000 counts
- CAT IV 600V, CAT III 1000V
The 87V MAX manual lists 0.1 µA resolution on its smallest current range and gives burden-voltage figures, useful when the meter itself changes circuit operation. It still has a routine 10 A current limit; buying this DMM is not our solution for higher-current loads.
Version check: this pick covers the 87V MAX. Fluke also lists 87V MAX CAL, supplied with a traceable calibration certificate with data. Choose that package if your work requires the certificate; check the exact suffix and included accessories on Fluke's model list.
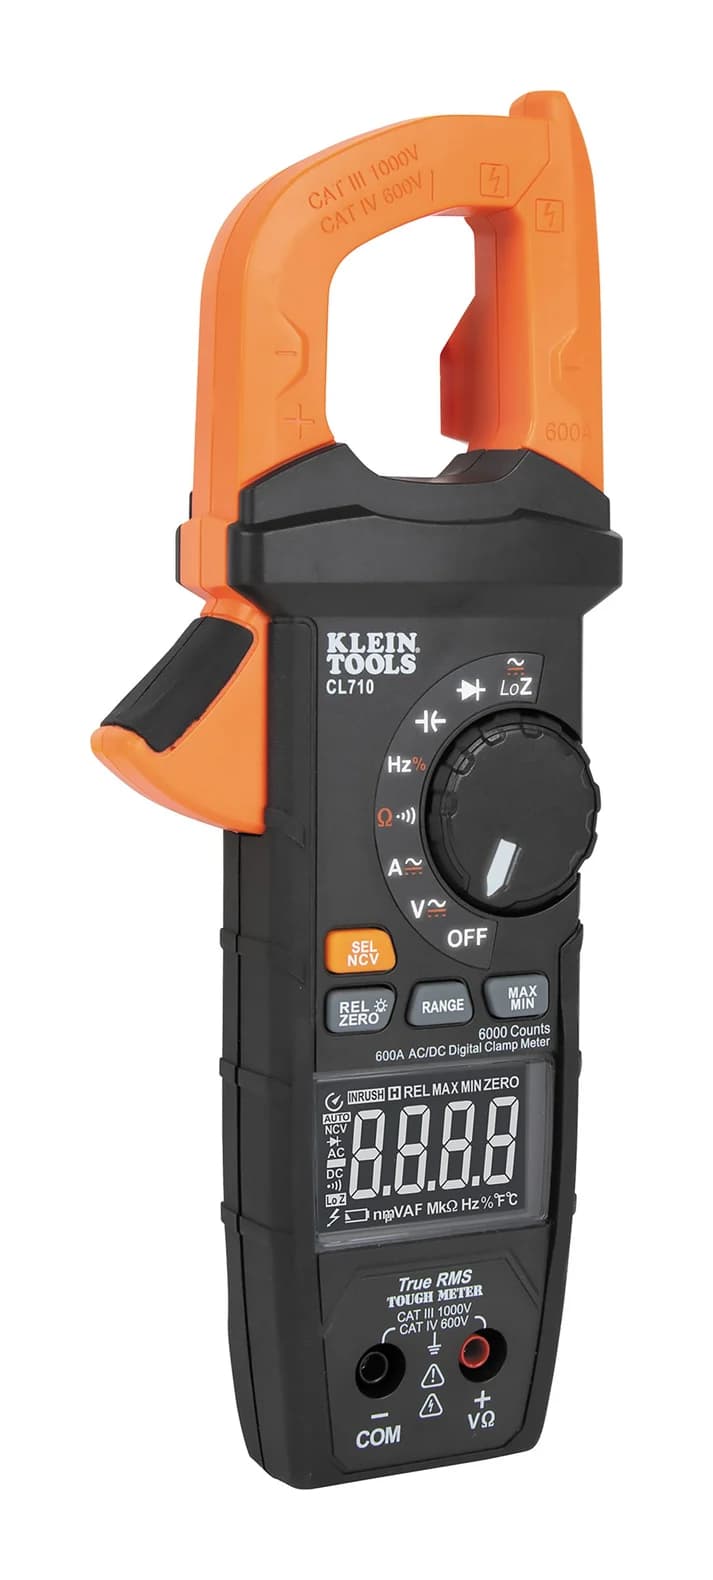
Higher-current alternative: Klein Tools CL710
Klein Tools
A 6,000-count True RMS clamp meter that measures AC and DC current to 600 A and voltage to 1000 V, with a low-impedance mode and non-contact voltage detection in the jaw.
Check package and model options
- 1,000 V max
- 600 A max
- 6,000 counts
- CAT IV 600V, CAT III 1000V
The CL710 measures AC/DC current through its jaws up to 600 A. Its manual specifies 10 mA resolution on the 60.00 A range; resolution is not accuracy, so this is not our pick for tiny standby currents.
For current, disconnect its test leads and clamp around a single conductor. Clamping around both outgoing and return conductors can cancel the reading. Select DC when appropriate and follow its zero-offset procedure; this is a different method from putting a DMM in series.
Buying guide: choose the jack, fuse, range and test duration
The input's current limit, its fuse and its permitted measurement time are different specifications. These figures come from the linked MM420 and 87V MAX manuals, including Fluke's manual supplement.
MM420 small current
- Red lead and function
- Shared VΩ jack; mA or µA
- Input limit
- 400 mA maximum; µA caveat above
- Specified replacement fuse
- 500 mA / 600 V fast-blow; Klein 69033
All specifications
- Time restriction
- No separate duration stated for this input
MM420 high current
- Red lead and function
- 10A jack; 10A setting
- Input limit
- 10 A maximum
- Specified replacement fuse
- 10 A / 600 V fast-blow; Klein 69032
All specifications
- Time restriction
- Above 6 A, Klein recommends 30 seconds measuring, then 10 minutes recovery
87V MAX small current
- Red lead and function
- mA/µA jack; matching function
- Input limit
- 400 mA continuous
- Specified replacement fuse
- 0.440 A / 1000 V FAST; Fluke 943121; interrupt rating 10 kA
All specifications
- Time restriction
- Manual also allows 600 mA for 18 hours maximum; use the A input for routine work above 400 mA
87V MAX high current
- Red lead and function
- A jack; mA/A function
- Input limit
- 10 A under the stated temperature conditions
- Specified replacement fuse
- 11 A / 1000 V FAST; Fluke 803293; interrupt rating 17 kA
All specifications
- Time restriction
- 10 A continuous up to 35 °C; at 35–55 °C, less than 20 minutes on, then 5 minutes off
Full comparison table
Swipe to compare. Row labels stay visible.
| Meter / current path | Red lead and function | Input limit | Specified replacement fuse | Time restriction |
|---|---|---|---|---|
| MM420 small current | Shared VΩ jack; mA or µA | 400 mA maximum; µA caveat above | 500 mA / 600 V fast-blow; Klein 69033 | No separate duration stated for this input |
| MM420 high current | 10A jack; 10A setting | 10 A maximum | 10 A / 600 V fast-blow; Klein 69032 | Above 6 A, Klein recommends 30 seconds measuring, then 10 minutes recovery |
| 87V MAX small current | mA/µA jack; matching function | 400 mA continuous | 0.440 A / 1000 V FAST; Fluke 943121; interrupt rating 10 kA | Manual also allows 600 mA for 18 hours maximum; use the A input for routine work above 400 mA |
| 87V MAX high current | A jack; mA/A function | 10 A under the stated temperature conditions | 11 A / 1000 V FAST; Fluke 803293; interrupt rating 17 kA | 10 A continuous up to 35 °C; at 35–55 °C, less than 20 minutes on, then 5 minutes off |
Scroll horizontally to see every column
| Meter / current path | Red lead and function | Input limit | Specified replacement fuse | Time restriction |
|---|---|---|---|---|
| MM420 small current | Shared VΩ jack; mA or µA | 400 mA maximum; µA caveat above | 500 mA / 600 V fast-blow; Klein 69033 | No separate duration stated for this input |
| MM420 high current | 10A jack; 10A setting | 10 A maximum | 10 A / 600 V fast-blow; Klein 69032 | Above 6 A, Klein recommends 30 seconds measuring, then 10 minutes recovery |
| 87V MAX small current | mA/µA jack; matching function | 400 mA continuous | 0.440 A / 1000 V FAST; Fluke 943121; interrupt rating 10 kA | Manual also allows 600 mA for 18 hours maximum; use the A input for routine work above 400 mA |
| 87V MAX high current | A jack; mA/A function | 10 A under the stated temperature conditions | 11 A / 1000 V FAST; Fluke 803293; interrupt rating 17 kA | 10 A continuous up to 35 °C; at 35–55 °C, less than 20 minutes on, then 5 minutes off |
Fluke additionally specifies above 10 A to 20 A for 30 seconds maximum, followed by 5 minutes off, with accuracy unspecified above 10 A. That is a time-limited allowance, not a continuous 20 A capability. The MM420 manual explicitly says not to exceed 10 A.
Decision: if the maximum is unknown, stop and choose another method. If the known maximum fits the high-current input, begin there when uncertain about the smaller range. Move to mA only after confirming the load, including startup demand, fits that input. Switch circuit power off before changing connections. Auto-ranging adjusts the display range within a function; it does not select a safer jack.
Connect in series: a battery-powered learning circuit
Use a 1.5 V AA alkaline cell in a holder, a 1,000 Ω resistor, connecting wires and insulated clips. This is an illustrative resistor-load circuit, not a vehicle battery or mains exercise. The resistor provides the load; the meter replaces a wire in that load's current path. Never omit the resistor and connect the current input straight across the cell.
The diagram shows the meter replacing one wire. Keep the resistor in the loop throughout:
AA holder (+) -- red [current input -> METER -> COM] black -- resistor --+
AA holder (-) ---------------------------------------------------------+
With the cell removed, inspect the leads, check the current fuse as the manual directs, and connect black to COM. Choose the high-current input/function initially, confirm DC, and attach the clips as shown. Insert the cell to read, remove it before changing the range or jack, and only then select mA for a clearer reading within its limits. For the MM420, that means moving red to the shared VΩ jack and selecting mA/DC.
Power off
Remove the cell before wiring or changing connections.
Insert the meter
Bridge a break in the loop; keep the resistor connected.
Read with power on
Check DC mode, displayed units and the input's time limit.
Power off and restore
Remove the cell, disconnect the meter and restore the circuit.
After disconnecting, return red to the voltage/Ω input and select a voltage function before putting the meter away. On the MM420, the mA jack is already the voltage jack, but the dial still needs changing. This reduces the chance of making the next voltage measurement through a current path. Fluke's Input Alert warns about a current lead left in place with the wrong function selected; treat any jack warning as a reason to stop and check the setup.
Read amps, milliamps and microamps correctly
Read the unit beside the number, not just the decimal point. A means amperes; mA means milliamperes; µA means microamperes. Divide milliamps by 1,000 to obtain amps; divide microamps by 1,000 to obtain milliamps. NIST's SI prefixes define those factors.
For conversion practice, 6,000 µA = 6 mA, as shown in the 87V MAX manual. A minus sign on a DC current reading indicates reversed polarity relative to the leads. Power off before swapping them. For AC, select A~ rather than DC; True RMS does not remove the meter's range, frequency or time restrictions.
Burden voltage: how the meter changes the circuit
Fluke explains that a current meter drops voltage across itself and can affect circuit operation. The 87V MAX's DC table specifies 1.8 mV/mA on its mA ranges, versus 0.03 V/A on its A ranges.
Calculated example, not a measurement: assume a displayed current of 20 mA. The mA-range burden is 20 × 1.8 = 36 millivolts. That voltage is lost across the meter, leaving less for the load. A circuit that works normally but resets or changes behavior with the meter inserted may therefore be responding to the measurement setup.
Use the published burden for the actual function. A higher-current input can reduce loading but may lose useful resolution; compare both specifications. Do not apply Fluke's figures to the MM420: its cited manual does not publish a burden-voltage table.
Troubleshooting: OL, zero current or a blown fuse
Switch off and disconnect before changing jacks, inspecting wiring or accessing fuses.
OL on a current range
- What it can mean
- Over-range, not a useful current value
- Next action
- Remove power; reassess expected current and the input limit. Do not simply move a live lead
Zero and the load stops working
- What it can mean
- Open connection or blown current fuse
- Next action
- Check the loop, then perform the manual's fuse check; a working voltage function does not clear the current fuse
Zero or an unexpectedly small reading
- What it can mean
- Wrong AC/DC mode or inadequate resolution
- Next action
- Confirm the display mode and range; the MM420 defaults to AC
Negative DC current
- What it can mean
- Leads reversed relative to current direction
- Next action
- Power off before reversing the leads
Reading stays fixed after the load changes
- What it can mean
- HOLD may be active
- Next action
- Release HOLD and read again
Circuit changes behavior when connected
- What it can mean
- Meter burden may be affecting the load
- Next action
- Compare the specified burden with the circuit's available supply voltage
Full comparison table
Swipe to compare. Row labels stay visible.
| Symptom | What it can mean | Next action |
|---|---|---|
| OL on a current range | Over-range, not a useful current value | Remove power; reassess expected current and the input limit. Do not simply move a live lead |
| Zero and the load stops working | Open connection or blown current fuse | Check the loop, then perform the manual's fuse check; a working voltage function does not clear the current fuse |
| Zero or an unexpectedly small reading | Wrong AC/DC mode or inadequate resolution | Confirm the display mode and range; the MM420 defaults to AC |
| Negative DC current | Leads reversed relative to current direction | Power off before reversing the leads |
| Reading stays fixed after the load changes | HOLD may be active | Release HOLD and read again |
| Circuit changes behavior when connected | Meter burden may be affecting the load | Compare the specified burden with the circuit's available supply voltage |
Scroll horizontally to see every column
| Symptom | What it can mean | Next action |
|---|---|---|
| OL on a current range | Over-range, not a useful current value | Remove power; reassess expected current and the input limit. Do not simply move a live lead |
| Zero and the load stops working | Open connection or blown current fuse | Check the loop, then perform the manual's fuse check; a working voltage function does not clear the current fuse |
| Zero or an unexpectedly small reading | Wrong AC/DC mode or inadequate resolution | Confirm the display mode and range; the MM420 defaults to AC |
| Negative DC current | Leads reversed relative to current direction | Power off before reversing the leads |
| Reading stays fixed after the load changes | HOLD may be active | Release HOLD and read again |
| Circuit changes behavior when connected | Meter burden may be affecting the load | Compare the specified burden with the circuit's available supply voltage |
Replace a blown fuse with the exact specified type, including voltage and interrupt ratings where stated. Never bridge it or substitute a larger fuse to keep measuring. Fluke provides a fuse-test procedure; use that procedure rather than improvising a powered test.
How we choose
These are research-based recommendations, with no physical product testing. Official product pages, model-specific manuals and Fluke's supplement supply the figures for current inputs, fuses, duration, resolution and loading. The battery circuit is an illustrative setup; the burden example is a calculation, not an instrument reading. Our measurement methodology explains how specifications differ from measured results.
Verdict
Use the MM420 for the low-voltage learning task, respecting its jack limits and µA documentation caveat. Choose the 87V MAX when published loading characteristics matter. For loads outside DMM limits, choose a suitable DC clamp, checking low-current accuracy before assuming a higher maximum means a better tool.
Our picks at a glance
- 1
Choose for: Learning and small battery circuits
Check before buying: Rated CAT III 600V: not for service-entrance (CAT IV) work
- 2
Choose for: Work where meter loading matters
Check before buying: Heavy for a handheld: 698.5 g with the holster and Flex-Stand
- 3
Choose for: Higher current through an accessible conductor
Check before buying: No DC microamp range, so it can't read HVAC flame-sensor current
Frequently asked questions
Where do I put the red lead to measure amps?
Read your model's current instructions: there is no universal jack layout. The Klein MM420 uses its 10A jack for the high-current setting and its shared VΩ jack for mA and µA. The Fluke 87V MAX has separate A and mA/µA inputs. Check the input limit before connecting; auto-ranging cannot move the lead or protect an undersized current input.
Can I measure amps directly across a battery or wall outlet?
No. A current input goes in series with a load. Connecting it across a source can create a short circuit, damage equipment and blow the meter's fuse. Use the battery-and-resistor example here to learn. For household appliance energy use, choose a suitable plug-in energy meter; leave panels and service equipment to a licensed electrician.
Why does my multimeter read zero amps but still measure voltage?
A blown current fuse is one possibility: voltage measurement working does not prove the current path is intact. Switch off the circuit and disconnect the meter, then check the fuse using the model's manual. Also check for an open circuit, the wrong AC/DC mode, an unsuitable range or a held display before concluding there is no current.
Related guides
Best picks · Multimeters
Best Multimeters for Electricians: LoZ, CAT Ratings and Job Fit
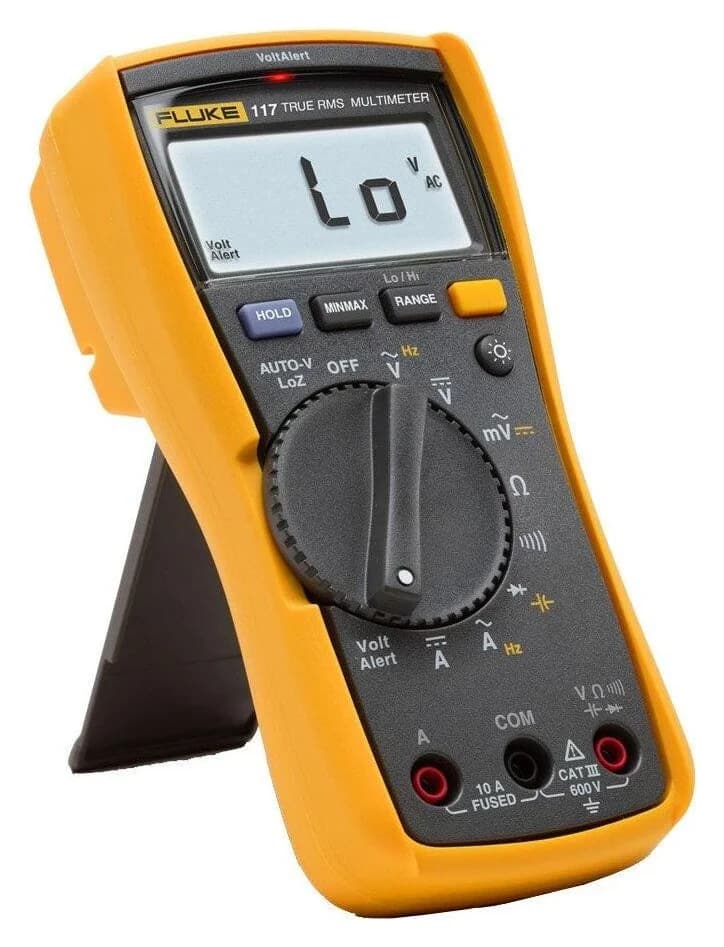
Choose an electrician's multimeter by job: Fluke 117 for branch circuits, 87V MAX for industry, Klein MM420 for extra functions, or the narrower Fluke 113.
Best picks · Multimeters
Best Multimeters for Automotive Work: Batteries, Sensors and RPM
Choose an automotive multimeter for voltage drop, sensors, RPM and small currents. Compare Klein, Innova and Fluke, kit contents and DC clamp limitations too.
Comparison · Multimeters
AstroAI DM6000AR vs KAIWEETS HT118A: Which Budget Multimeter?
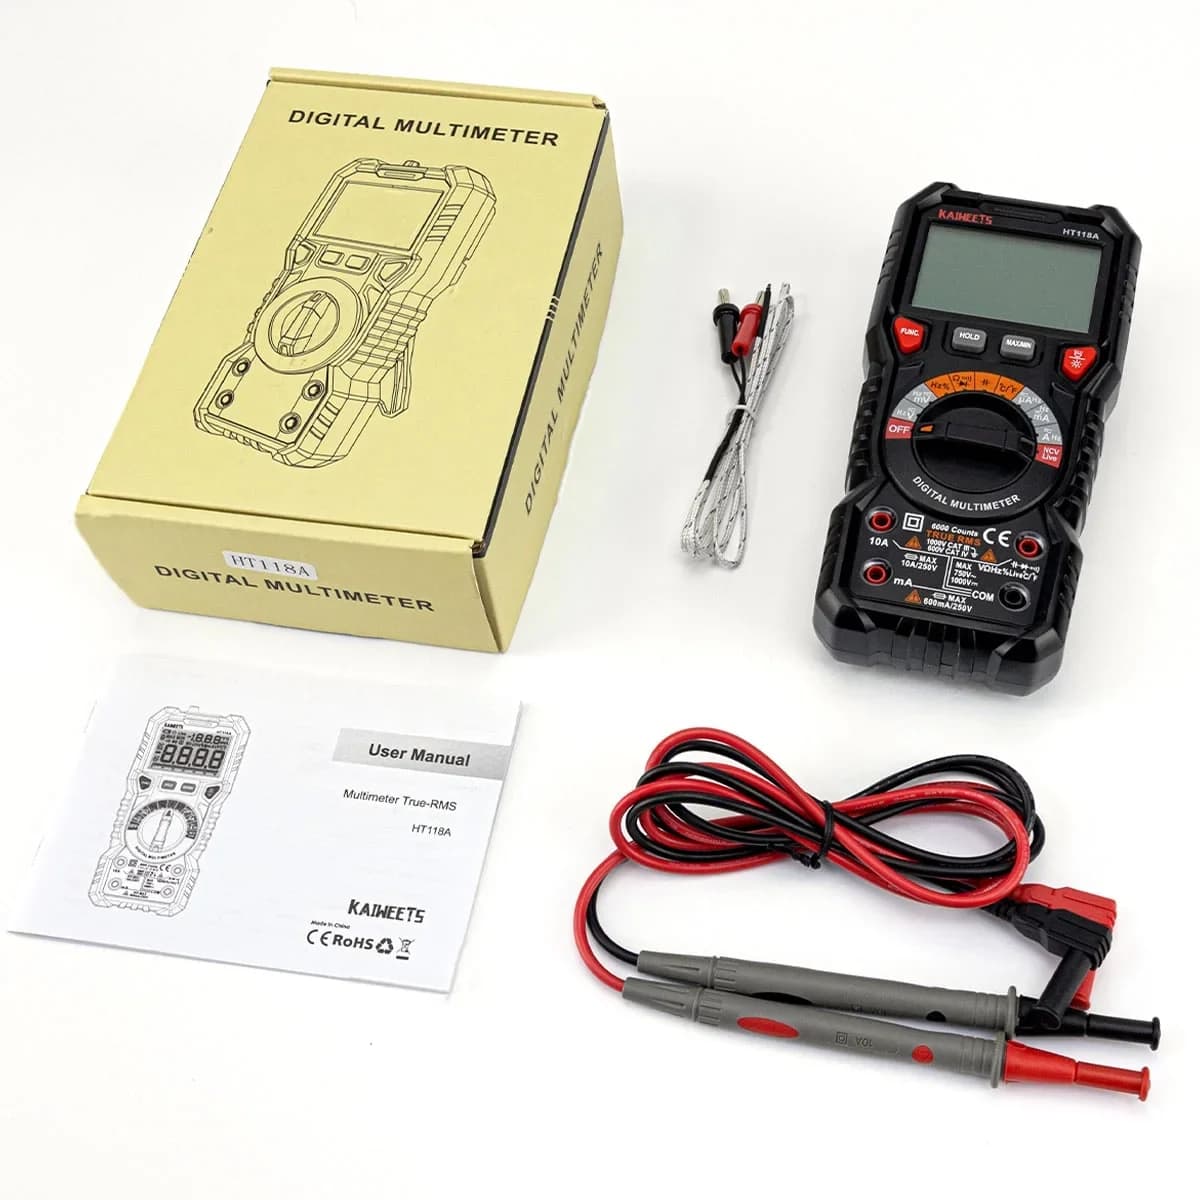
Choose an AstroAI DM6000AR or KAIWEETS HT118A for your first meter: compare controls, voltage claims, fuses, accessories and safe low-voltage starter tasks.